How To Transfer A Printed Photo To A Piece Of Raw Pine Wood
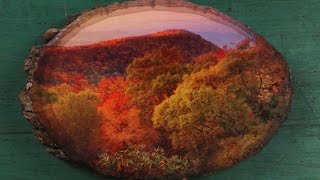
Transferring a printed photo onto raw pine wood creates a rustic, gallery‑ready piece that blends personal memories with natural texture. The process is simple, requires only basic supplies, and works well for both beginners and seasoned crafters. Follow the step‑by‑step guide below to achieve a clear, lasting image on pine without damaging the wood.
Materials You’ll Need
- Raw pine board (1/4‑inch to 1/2‑inch thick)
- Printed photo on regular printer paper (laser or inkjet)
- Water‑based gel medium (Matte or Gloss)
- Soft‑bristle brush or foam brush
- Clear acrylic sealer or polyurethane finish
- Sandpaper (120‑grit and 220‑grit)
- Cloth or paper towels
- Rubber gloves and a well‑ventilated workspace
- Optional: a spray bottle with water for dampening the paper
Preparing the Pine Surface
1. Clean and Smooth the Wood
Start by removing any dust or debris from the pine board. Use a dry cloth to wipe the surface, then sand gently with 120‑grit sandpaper to eliminate rough spots. Finish with 220‑grit sandpaper for a smooth finish that will help the image adhere evenly.
2. Seal the Wood (Optional)
If the pine has knots or uneven grain, apply a thin coat of clear acrylic sealer. This step prevents excess absorption of the gel medium and enhances the final image clarity. Let the seal dry completely—usually 30 minutes to an hour, depending on the product.
Printing the Photo Correctly
For the best transfer, the photo should be printed on standard printer paper rather than glossy photo paper, which can resist the gel medium. Print the image at the exact size you want it to appear on the wood. If you prefer a reversed image (e.g., for a mirror effect), flip the photo horizontally before printing.
Applying the Gel Medium
1. Coat the Image Side
Using a soft‑bristle brush, spread a generous, even layer of gel medium over the printed side of the photo. Make sure the entire surface is covered, especially the edges, to avoid air bubbles later.
2. Position the Photo on the Wood
Place the gel‑coated side of the photo onto the prepared pine board. Align it carefully; once the paper touches the wood, repositioning becomes difficult.
3. Smooth Out Air Bubbles
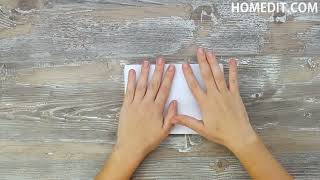
Press the paper gently with your hands or a clean roller. Work from the center outward to push out trapped air. If bubbles persist, use a soft cloth to smooth them away.
Transferring the Image
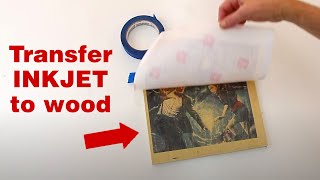
- Dampen the paper.