Understanding Why Acrylic Paint Cracks on Canvas Shoes
Before you can effectively seal acrylic paint on canvas shoes, you need to understand why cracking occurs in the first place. The primary culprit is the flexible nature of fabric compared to rigid surfaces like wood or metal. When acrylic paint dries, it forms a hard shell that doesn't stretch or bend with the canvas material. As the shoe flexes during normal wear, the paint layer experiences tension and compression forces that eventually lead to cracking and flaking.
Preparing Your Canvas Shoes for Painting
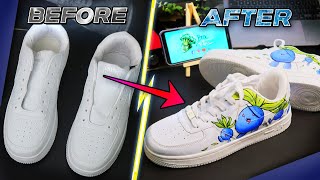
Proper preparation is the foundation of a crack-free custom shoe design. Start by cleaning the entire surface of your canvas shoes with a mild soap solution and a soft brush. Remove any dirt, oils, or residues that could prevent proper adhesion. Rinse thoroughly and allow the shoes to air dry completely.
Once dry, lightly scuff the surface with fine-grit sandpaper. This creates a rough texture that helps the paint grip better. Wipe away any dust or debris with a clean cloth. For particularly smooth areas or if you're working with newer shoes, consider using a fabric primer specifically designed for athletic footwear.
Painting Techniques for Canvas Shoes
The way you apply your acrylic paint significantly impacts durability. Use specialized fabric or acrylic paints formulated for flexible surfaces. Apply thin, even coats rather than thick layers. Each coat should dry completely before applying the next.
Work in well-ventilated areas and maintain consistent brush strokes. Avoid over-brushing once the paint begins to set, as this can create uneven texture. Allow each painted section to cure for at least 24 hours before moving to the sealing process.
Selecting the Right Sealant for Canvas Shoes
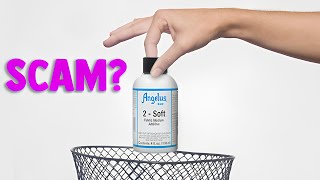
Not all sealants are created equal when it comes to protecting painted canvas shoes. You'll need a flexible, fabric-friendly sealer that moves with the material. Acrylic varnish designed for canvas or textile mediums work well. These products remain flexible after drying, preventing the cracking that rigid sealers cause.
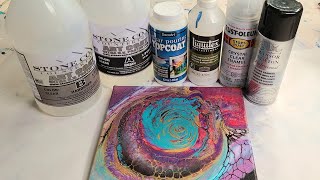
Spray sealers formulated for fabric artwork provide even coverage without adding significant weight. Look for products labeled as "flexible," "fabric-safe," or "textile-grade." Avoid household polyurethane or standard acrylic gloss, as these tend to become brittle on flexible surfaces.
The Sealing Process Step by Step
Begin the sealing process after your paint has fully cured, typically 48-72 hours. Lightly dust off any loose particles from the painted surface. Work in a dust-free environment to prevent contaminants from getting trapped under the sealant.
Apply your chosen sealant in thin, even coats. If using a spray sealer, hold the can 12-18 inches away from the shoe and use smooth, sweeping motions. For brush-on sealers, use a high-quality synthetic brush and apply in long, consistent strokes. Allow each coat to dry according to manufacturer instructions before applying additional layers.
Typically, 2-3 light coats provide adequate protection. More is not always better, as heavy applications can actually increase cracking risk due to added weight and stiffness.
Curing and Long-Term Care
The sealing process doesn't end when you stop applying sealant. Allow your newly sealed shoes to cure for at least 48 hours before wearing. During this time, avoid flexing or bending the shoes excessively. Proper curing ensures the sealant bonds fully with both the paint and fabric.
For maintenance, clean your painted shoes gently with a damp cloth. Never machine wash or submerge sealed canvas shoes in water. Store them in a cool, dry place away from direct sunlight, which can fade colors and weaken sealant adhesion over time.
Troubleshooting Common Issues
If you notice small cracks developing despite proper sealing, the issue often stems from applying too thick paint layers initially. Sand lightly and apply an additional thin sealant coat. For areas where paint has lifted or peeled,